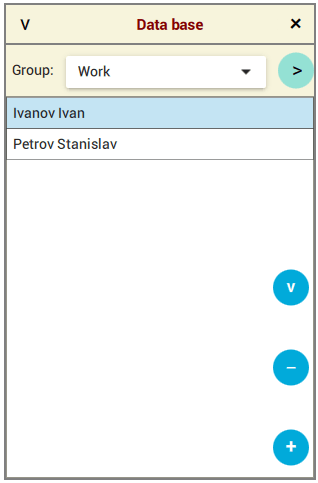
The database is designed to store information about people, the analysis of which must be done periodically. To work with the database, the Data base command is intended, which is located in the "≡" menu, when executed, the dialog box shown in the figure will be displayed.
The first line is a title containing the name of the window and two buttons to close the dialog. To select a person for whom the calculation will be made, you need to select him in the list and press the "v" button. The "x" button simply closes the dialog without any changes to the application.
The second line controls the display of people in the list. To do this, it contains a drop-down list with the names of the groups of people available in the database. When you select the required group from this list, the lower list will contain records related only to the specified group. To view all the people available in the database, select the line with the word All from the drop-down list.
If you plan to store information about many people in the database, then it is better to use their grouping. To do this, you need to click on the green ">" button located in the second line, and create several groups to distribute people.
The rest of the dialogue is occupied by a list of people. At the bottom right, there is a blue "+" button, with which new people are added to the database. The rest of the blue buttons "v" and "-" appear if you click on the line of interest in the lower list and wait a little.
The "-" button is used to delete the selected line from the database, and the "v" button is used to change information about a person.
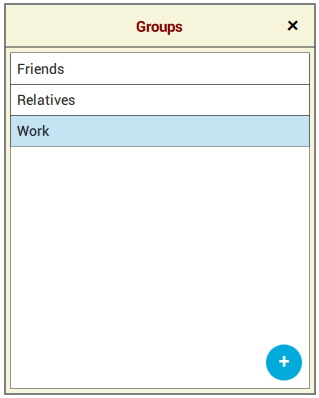
If you click on the green button ">" located in the second line of the Data base dialog, a dialog for working with groups will be displayed, the window of which is similar to the window of the previous dialog.
The header contains only one "x" button that closes the dialog, and below is a list of the groups of people in the database.
At the bottom right, there is a blue "+" button, with which new groups are added to the database. The rest of the blue buttons "v" and "-" appear if you click on the line of interest in the list and wait a little.
The "-" button is used to delete the selected line from the database, and the "v" button is used to change the name of the selected group.
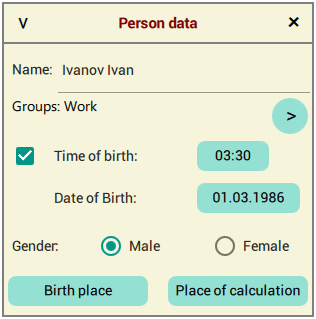
If you click on the blue "+" or "v" button in the Data base dialog, the application will provide an opportunity to add a new person to the database, or change information about him, displaying the Person data dialog, which is shown in the figure on the left. When adding a new person, the dialog will be empty.
Assigning elements in the dialog:
the Name field is intended for entering a person's name, which must be unique in the entire database;
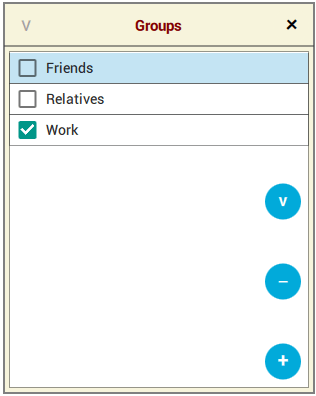
the Groups field is intended to display the groups in which the person is included. If desired, a person can belong to several groups. To include a person in the required groups, you must click on the ">" button and a slightly modified Groups dialog will be displayed, shown in the figure below;
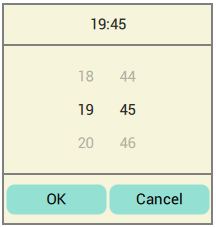
the Time of birth checkbox is intended to be included in the calculation of the hour pillar and the pillar of Life in the person's date of birth, while the place of birth must also be specified. If the place of birth is not specified, the Pillar of Hour and the Pillar of Life will not be calculated. The time of birth is set by clicking on the button on the right in the same line (see the dialog below);
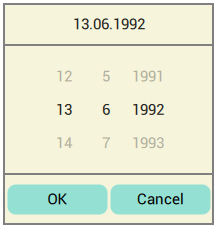
the Date of Birth button is used to set the date of birth of a person (see the dialog below);
the Gender switch is used to set the gender of a person;
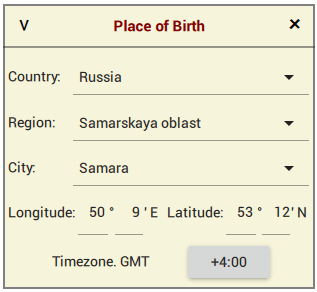
the buttons Birth place and Place of calculation are intended for entering the relevant data about a person (see the Place of birth dialog below).
